I can’t wait to share my Garlic Dill Pickles, where peeled garlic, a homemade pickling spice, and hot peppers come together with one unexpected twist you won’t see coming.
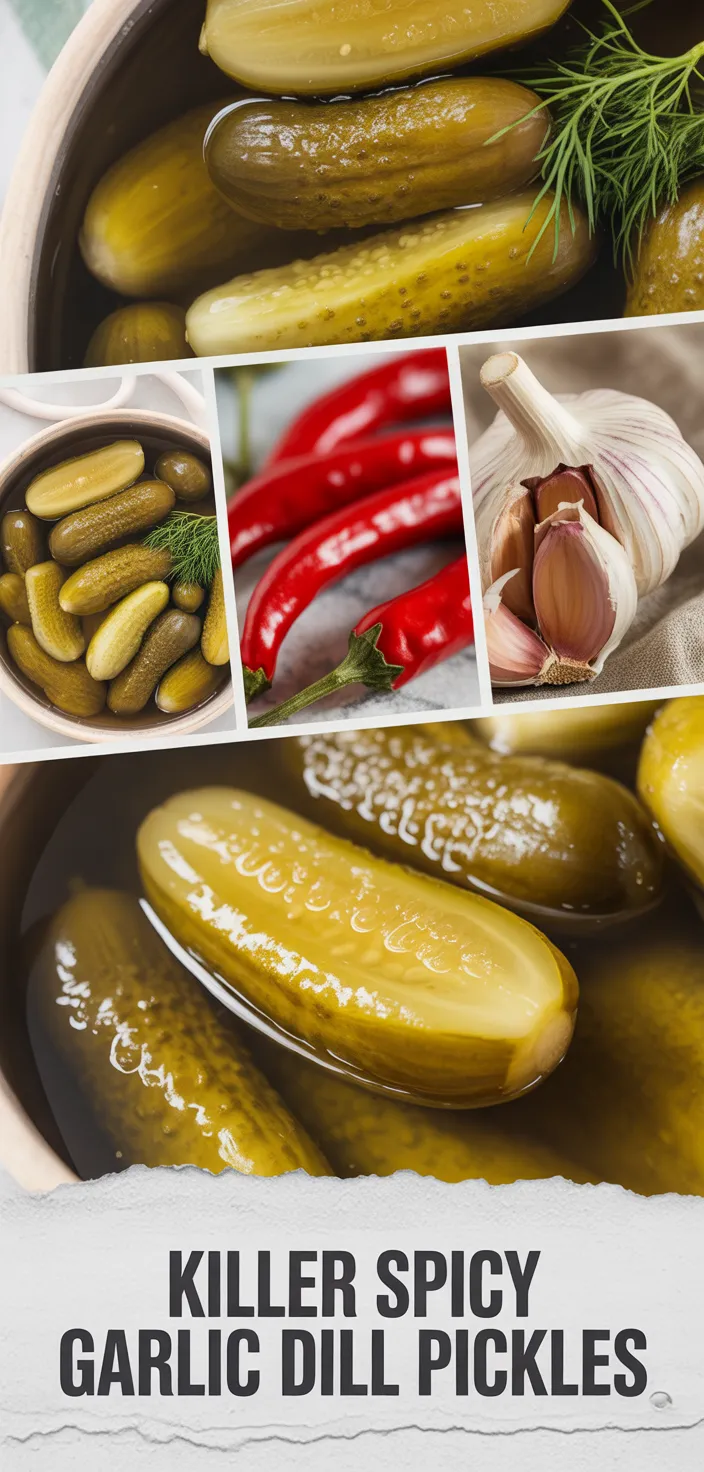
I thought pickles were boring until I tried my first KILLER SPICY GARLIC DILL PICKLES, and wow, they changed everything. It’s packed with large garlic cloves and slices of hot peppers so every crunch hits like a punch, and a homemade Pickling Spice pushes it over the edge.
This is not your grandma’s mellow jar, it’s loud, stubborn, and totally addictive. Once you try these Garlic Dill Pickles you’ll be hooked by that bright, fiery snap, and you’ll keep reaching back into the jar even after you promised yourself you were done.
Ingredients
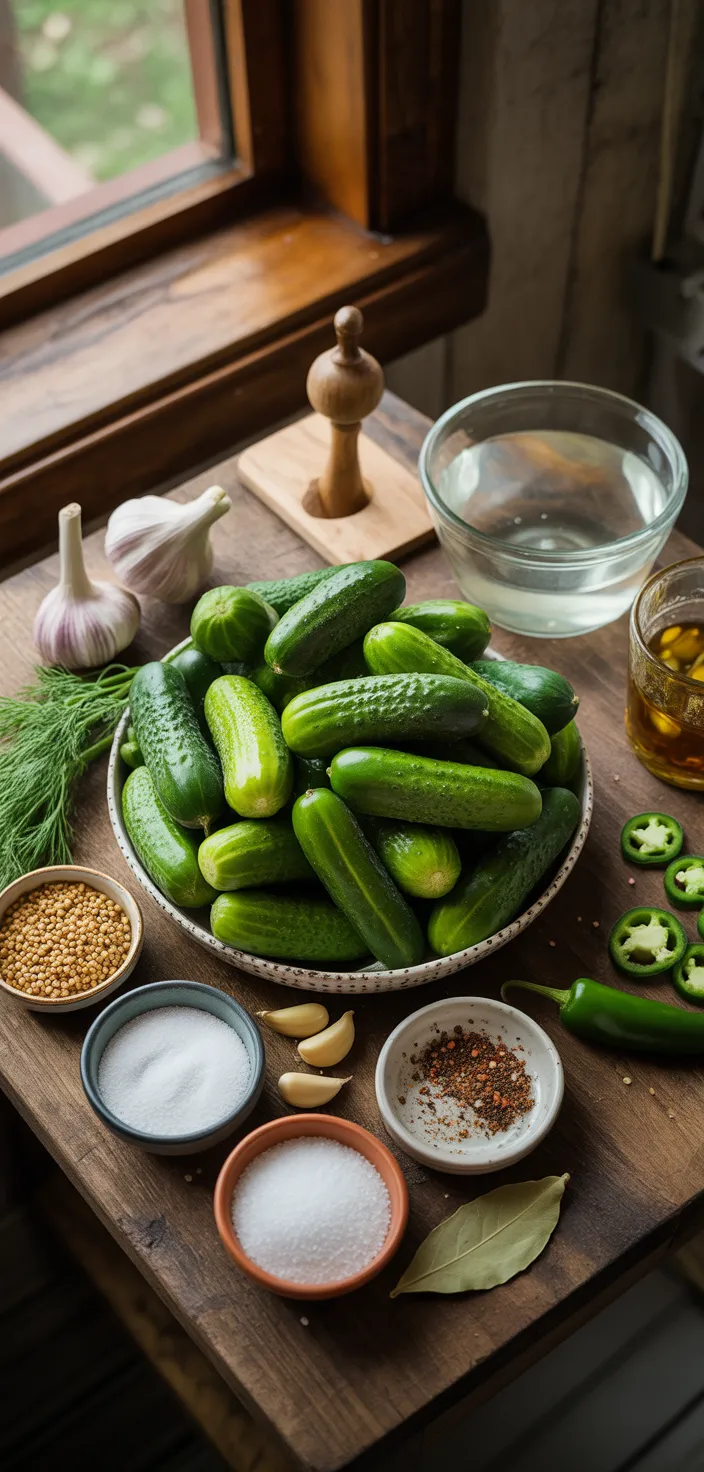
- Crunchy cucumbers add fiber, low calories, refreshing base and mild sweetness to the brine
- Garlic gives pungent heat, small protein boost, antioxidants and that garlicky punch everyone loves
- Jalapeños or serranos bring capsaicin heat, vitamin C, tiny carbs and a lively kick
- White vinegar makes it tangy, preserves freshness, adds sharp sourness but dont add real calories
- Salt draws moisture, firms the cukes, balances flavors and boosts preservation during pickling
- Dill fronds add aromatic, slightly grassy flavor, tiny antioxidants and thats classic pickle taste
- Mustard coriander and peppercorns add warmth, subtle spice, complexity and crunchy little bursts
Ingredient Quantities
- 2 to 3 lbs small pickling cucumbers, about 8 to 10 kirbys (or use small english cucumbers if thats what you got)
- 12 to 15 large garlic cloves, peeled
- 6 to 8 fresh dill sprigs, plus extra fronds if you want more dill flavor
- 2 to 3 hot peppers (jalapeño or serrano), sliced, seeds left in for extra heat or remove if you prefer milder
- 4 cups distilled white vinegar
- 4 cups water
- 6 tablespoons kosher salt or pickling salt, packed
- 2 tablespoons granulated sugar (optional, balances the heat)
- 2 tablespoons yellow mustard seeds
- 1 tablespoon coriander seeds
- 1 tablespoon black peppercorns
- 1 teaspoon dill seed
- 1 teaspoon crushed red pepper flakes
- 2 bay leaves
How to Make this
1. Sterilize 4 to 6 pint jars and lids if you plan to can, or just wash them hot if you’re doing fridge pickles; preheat oven or simmer lids in hot water so nothing cracks.
2. Wash 2 to 3 lbs small pickling cucumbers, trim the blossom ends (they can make pickles soft), then leave whole or halve/quarter lengthwise so the brine gets in; peel 12 to 15 large garlic cloves.
3. Into each jar pack: a few dill sprigs plus extra fronds if you want more dill flavor, 2 to 3 sliced hot peppers (leave seeds in for extra heat or remove for milder), several peeled garlic cloves, and tightly pack cucumbers so they stand upright and don’t float.
4. Divide the dry spices among the jars as you pack or put them all in the brine: 2 tablespoons yellow mustard seeds, 1 tablespoon coriander seeds, 1 tablespoon black peppercorns, 1 teaspoon dill seed, 1 teaspoon crushed red pepper flakes and 2 bay leaves. This makes sure every jar gets flavor.
5. Make the brine: in a medium pot combine 4 cups distilled white vinegar, 4 cups water, 6 tablespoons kosher or pickling salt (packed) and 2 tablespoons granulated sugar if you want to balance the heat. Add the remaining loose spices if you didn’t already portion them. Bring to a simmer until the salt dissolves and the seeds bloom, about 3 to 5 minutes.
6. Pour the hot brine over the packed jars so cucumbers are fully submerged, leaving about 1/2 inch headspace; tap jars or use a nonmetal spatula to release air bubbles, wipe rims clean, place lids and rings fingertip tight.
7. For quick refrigerator pickles: let jars cool to room temp then refrigerate; they’re good after 24 hours but really sing after 2 to 3 days and will last several weeks chilled. For shelf stable canning: process jars in a boiling water bath for about 10 minutes (adjust for altitude), remove and let cool upright until lids pop and seal.
8. After sealing, label with date and store processed jars in a cool dark place for at least a week before heavy eating for best flavor; if unprocessed, keep refrigerated and use within a month or so.
Equipment Needed
1. 4 to 6 pint mason jars with lids and rings, sterilized or hot-washed
2. Large stockpot (8 qt or bigger) for the brine and for boiling water bath, plus a canning rack to keep jars off the bottom
3. Jar lifter and long-handled tongs for lifting hot jars and lids
4. Wide-mouth jar funnel and a ladle or heatproof measuring cup to pour hot brine without splashing
5. Nonmetal spatula or plastic chopstick to release air bubbles, plus clean kitchen towels to wipe rims
6. Sharp chef’s knife and cutting board for trimming cucumbers and slicing peppers, plus a paring knife for garlic
7. Measuring cups and spoons (4 cups, tablespoons, teaspoons) and a small bowl for dividing dry spices
8. Oven mitts or heatproof gloves and a kitchen timer, youll thank me later for the safety stuff
FAQ
KILLER SPICY GARLIC DILL PICKLES Recipe Substitutions and Variations
- Pickling cucumbers (2-3 lbs kirbys): use Persian or mini cucumbers, gherkins/cornichons, or small English cukes. If all you got are big cukes, slice them or salt for 20–30 minutes to draw out extra water before pickling.
- Hot peppers (jalapeño/serrano): swap for fresno or poblano for milder heat, habanero or Thai chiles for way hotter (use fewer), or 1–2 tsp crushed red pepper flakes or 1 tbsp hot sauce per jar if you want an easy shortcut.
- Distilled white vinegar (4 cups): apple cider vinegar or white wine vinegar work 1:1 and give a slightly different flavor, or mix half rice vinegar for a softer tang. Avoid sweet or dark vinegars like balsamic.
- Kosher/pickling salt (6 tbsp): use pickling or canning salt 1:1, fine table salt at about 3/4 the volume (so ~4.5 tbsp), or sea salt (best to measure by weight if you can).
Pro Tips
1) Want crunch that lasts weeks? Start with cold firm cukes and tuck in a grape leaf, oak leaf, or a small dose of Pickle Crisp (follow package directions) in each jar. These add tannins that help keep things snappy, and yes, an ice water soak for 20 to 30 minutes before packing can make a real difference.
2) Get brighter garlic without going too sharp: bruise whole cloves with the flat of a knife or give them a quick 10 second blanch in boiling water before packing. That softens the raw bite but keeps the garlic flavor, and it cuts down on that odd green/blue color reaction sometimes seen in acidic pickles.
3) Control the heat without guessing: slice one pepper into every jar for steady, even heat, but leave a couple whole and stash them in a separate jar to test later. Seeds make it hotter fast, so add them only to jars you want spicy. If you want to balance burn, a teaspoon or two of sugar in the brine really helps.
4) Make the spices sing: briefly toast coriander and mustard seeds in a dry pan until fragrant, then drop them into the brine so they bloom. Also taste the brine once it’s warm not scalding and adjust salt or sugar before pouring it in. If you plan to can, follow tested water bath times and altitude adjustments exactly, otherwise keep them refrigerated and label with the date.
KILLER SPICY GARLIC DILL PICKLES Recipe
I can't wait to share my Garlic Dill Pickles, where peeled garlic, a homemade pickling spice, and hot peppers come together with one unexpected twist you won't see coming.
8
servings
15
kcal
Equipment: 1. 4 to 6 pint mason jars with lids and rings, sterilized or hot-washed
2. Large stockpot (8 qt or bigger) for the brine and for boiling water bath, plus a canning rack to keep jars off the bottom
3. Jar lifter and long-handled tongs for lifting hot jars and lids
4. Wide-mouth jar funnel and a ladle or heatproof measuring cup to pour hot brine without splashing
5. Nonmetal spatula or plastic chopstick to release air bubbles, plus clean kitchen towels to wipe rims
6. Sharp chef’s knife and cutting board for trimming cucumbers and slicing peppers, plus a paring knife for garlic
7. Measuring cups and spoons (4 cups, tablespoons, teaspoons) and a small bowl for dividing dry spices
8. Oven mitts or heatproof gloves and a kitchen timer, youll thank me later for the safety stuff
Ingredients
2 to 3 lbs small pickling cucumbers, about 8 to 10 kirbys (or use small english cucumbers if thats what you got)
12 to 15 large garlic cloves, peeled
6 to 8 fresh dill sprigs, plus extra fronds if you want more dill flavor
2 to 3 hot peppers (jalapeño or serrano), sliced, seeds left in for extra heat or remove if you prefer milder
4 cups distilled white vinegar
4 cups water
6 tablespoons kosher salt or pickling salt, packed
2 tablespoons granulated sugar (optional, balances the heat)
2 tablespoons yellow mustard seeds
1 tablespoon coriander seeds
1 tablespoon black peppercorns
1 teaspoon dill seed
1 teaspoon crushed red pepper flakes
2 bay leaves
Directions
- Sterilize 4 to 6 pint jars and lids if you plan to can, or just wash them hot if you’re doing fridge pickles; preheat oven or simmer lids in hot water so nothing cracks.
- Wash 2 to 3 lbs small pickling cucumbers, trim the blossom ends (they can make pickles soft), then leave whole or halve/quarter lengthwise so the brine gets in; peel 12 to 15 large garlic cloves.
- Into each jar pack: a few dill sprigs plus extra fronds if you want more dill flavor, 2 to 3 sliced hot peppers (leave seeds in for extra heat or remove for milder), several peeled garlic cloves, and tightly pack cucumbers so they stand upright and don’t float.
- Divide the dry spices among the jars as you pack or put them all in the brine: 2 tablespoons yellow mustard seeds, 1 tablespoon coriander seeds, 1 tablespoon black peppercorns, 1 teaspoon dill seed, 1 teaspoon crushed red pepper flakes and 2 bay leaves. This makes sure every jar gets flavor.
- Make the brine: in a medium pot combine 4 cups distilled white vinegar, 4 cups water, 6 tablespoons kosher or pickling salt (packed) and 2 tablespoons granulated sugar if you want to balance the heat. Add the remaining loose spices if you didn’t already portion them. Bring to a simmer until the salt dissolves and the seeds bloom, about 3 to 5 minutes.
- Pour the hot brine over the packed jars so cucumbers are fully submerged, leaving about 1/2 inch headspace; tap jars or use a nonmetal spatula to release air bubbles, wipe rims clean, place lids and rings fingertip tight.
- For quick refrigerator pickles: let jars cool to room temp then refrigerate; they’re good after 24 hours but really sing after 2 to 3 days and will last several weeks chilled. For shelf stable canning: process jars in a boiling water bath for about 10 minutes (adjust for altitude), remove and let cool upright until lids pop and seal.
- After sealing, label with date and store processed jars in a cool dark place for at least a week before heavy eating for best flavor; if unprocessed, keep refrigerated and use within a month or so.
Notes
- Below you’ll find my best estimate of this recipe’s nutrition facts. Treat the numbers as a guide rather than a rule—great food should nourish both body and spirit. Figures are approximate, and the website owner assumes no liability for any inaccuracies in this recipe.
Nutrition Facts
- Serving Size: 100g
- Total number of serves: 8
- Calories: 15kcal
- Fat: 0.4g
- Saturated Fat: 0.05g
- Trans Fat: 0g
- Polyunsaturated: 0.2g
- Monounsaturated: 0.15g
- Cholesterol: 0mg
- Sodium: 5000mg
- Potassium: 120mg
- Carbohydrates: 4g
- Fiber: 0.8g
- Sugar: 3.5g
- Protein: 1g
- Vitamin A: 80IU
- Vitamin C: 3mg
- Calcium: 25mg
- Iron: 0.5mg