I can’t wait to show you my Pita Bread Recipe that puffs into perfect pockets every time with just six simple stove-top steps and includes clever sandwich and snack ideas in the video.
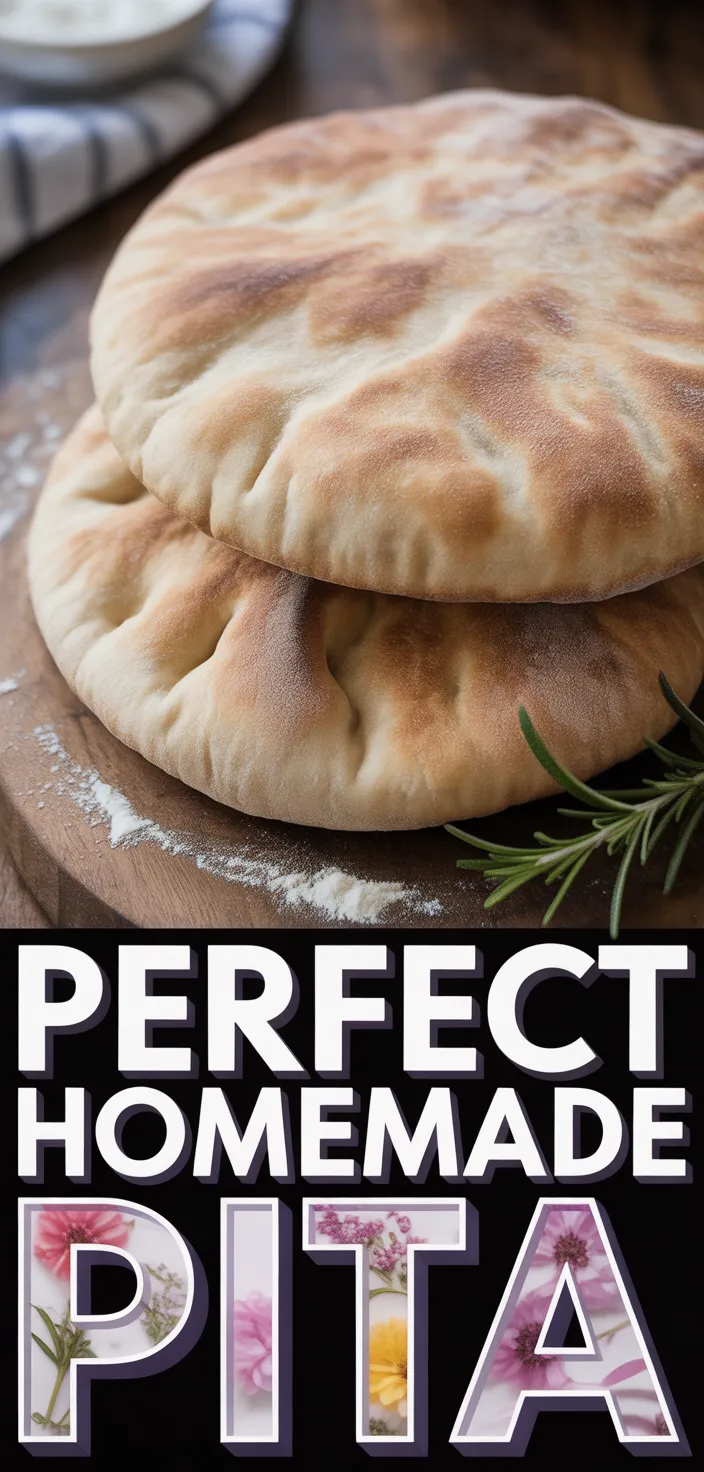
I’m obsessed with perfect pita. In this Pita Bread Recipe I break down the only six simple steps you need to make pitas like a boss.
With just all purpose flour and active dry yeast plus a couple other bits you probably already have, the dough turns into soft, chewy rounds that puff like a balloon on the stovetop and form a perfect pocket every single time. I tried every trick to stop them collapsing, and some things I do are a little weird but they work.
This Homemade Pita Bread actually makes stuffing with veggies and hummus totally satisfying, and the video shows it all.
Ingredients
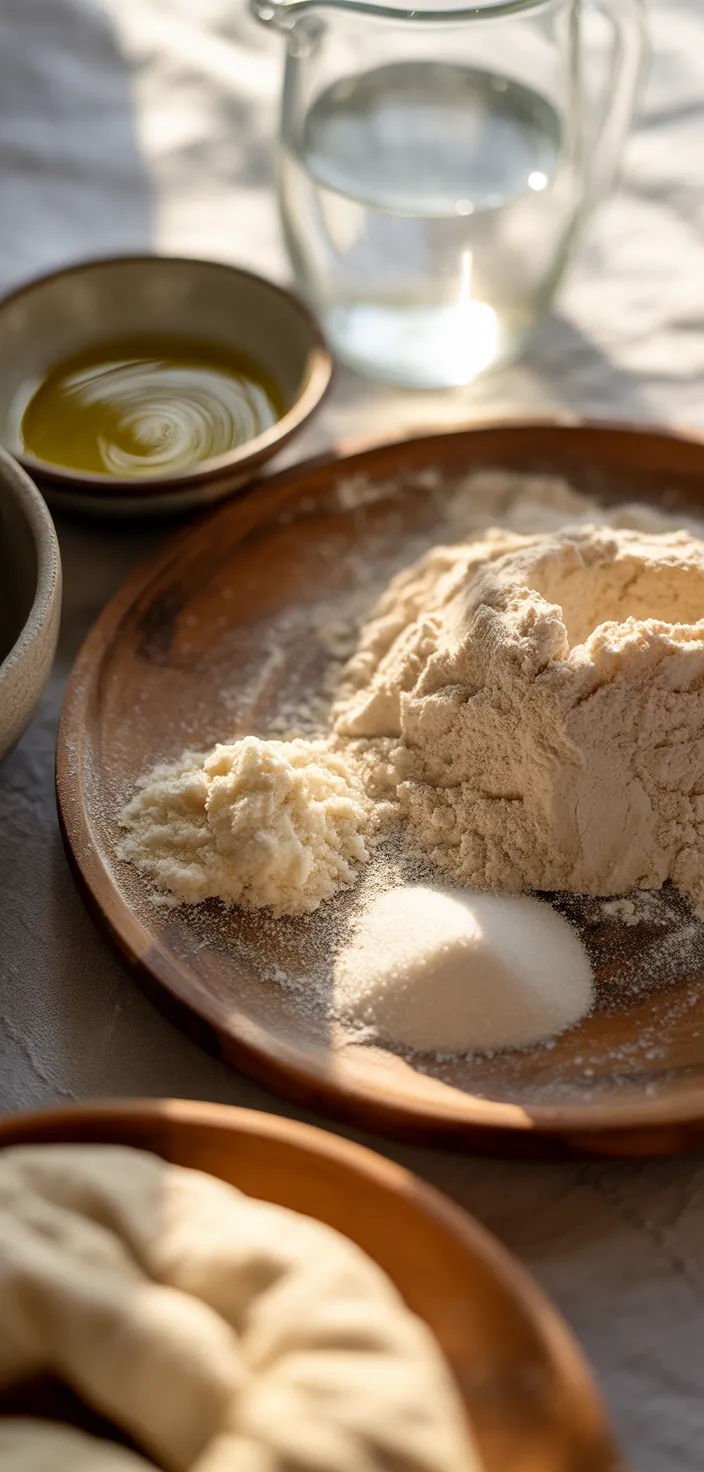
- All purpose flour: Main carbohydrate that builds gluten structure, gives chew, not much fibre though.
- Active dry yeast: Living fungus that ferments sugars, makes pockets of air, gives that puff.
- Granulated sugar: Small amount feeds yeast for faster rise, can add a touch of sweetness.
- Fine salt: Enhances flavour, tightens gluten, slows yeast so dough wont overproof.
- Warmish water: Hydrates flour and activates yeast, temperature matters so dont use too hot.
- Extra virgin olive oil: Gives tenderness, helps browning and flavour, keeps dough pliable and richer.
- Optional yogurt or milk: Adds fat and protein for softer crumb and slight tang, worth trying.
Ingredient Quantities
- 3 cups (360 g) all purpose flour, plus extra for dusting
- 1 packet (2 1/4 tsp / 7 g) active dry yeast
- 1 tsp granulated sugar
- 1 tsp fine salt
- 1 cup plus 2 tbsp (270 ml) warmish water
- 2 tbsp extra virgin olive oil, plus a little more for cooking
- Optional: 1 tbsp plain yogurt or milk for softer pitas
How to Make this
1. Stir the yeast and 1 tsp sugar into the 1 cup plus 2 tbsp warmish water (about 100 to 110 F or warm to the wrist) and let it bubble for 5 to 10 minutes until foamy.
2. In a big bowl mix 3 cups flour and 1 tsp salt; make a well and add the foamy yeast, 2 tbsp olive oil and the optional 1 tbsp yogurt or milk if you want extra soft pitas. Mix until a shaggy dough forms.
3. Turn dough onto a lightly floured surface and knead about 8 to 10 minutes until smooth and slightly tacky. Add tiny bits of flour only if it gets too sticky. The dough should be elastic not dry.
4. Lightly oil the bowl, place the dough back in, cover with a damp towel or plastic wrap and let rise in a warm spot for about 1 hour or until doubled.
5. Punch the dough down, divide into 8 to 10 even pieces (for 3 cups flour I do 8 nice sized pitas). Shape each piece into a smooth ball, cover and let rest 15 to 20 minutes so the gluten relaxes and they roll easier.
6. Preheat a heavy skillet or cast iron over medium-high heat until very hot. A drop of water should sizzle and dance. Keep a little olive oil handy to wipe the pan if needed but dont use too much or the pitas will fry.
7. On a lightly floured surface, roll each ball into a flat circle about 6 to 7 inches across and roughly 1/8 inch thick. Try to get them even so they puff nicely.
8. Cook one pita at a time: place on the hot skillet and cook about 45 to 60 seconds until you see bubbles and the bottom has brown spots, then flip and cook another 30 to 60 seconds. If it puffs into a pocket dont press it, let it cook through; if it doesnt puff fully flip once more and cook briefly.
9. Stack cooked pitas in a clean towel and cover to keep them soft while you finish the batch. Serve warm, slice open to stuff or use for wraps. Leftovers keep in a sealed bag for 2 to 3 days or freeze for longer.
Equipment Needed
1. Measuring cups and spoons
2. Liquid measuring cup (for the warm water)
3. Small bowl or cup for proofing the yeast
4. Large mixing bowl
5. Wooden spoon or silicone spatula
6. Bench scraper or sharp knife for dividing the dough
7. Rolling pin and a lightly floured work surface
8. Heavy skillet or cast iron pan plus a spatula or tongs for flipping
9. Clean kitchen towel and plastic wrap (for resting and keeping pitas soft)
10. Pastry brush or paper towel and a little extra olive oil for wiping the pan
FAQ
How To Make Pita Bread At Home Like A Pro Recipe Substitutions and Variations
How To Make Pita Bread At Home Like A Pro
Short version: this recipe makes soft, puffy pitas that split open into perfect pockets. It’s easier than you think, just pay attention to dough temperature and get your pan or oven really hot.
Ingredients
– 3 cups (360 g) all purpose flour, plus extra for dusting
– 1 packet (2 1/4 tsp / 7 g) active dry yeast
– 1 tsp granulated sugar
– 1 tsp fine salt
– 1 cup plus 2 tbsp (270 ml) warmish water
– 2 tbsp extra virgin olive oil, plus a little more for cooking
– Optional: 1 tbsp plain yogurt or milk for softer pitas
Steps
1. Proof the yeast: stir the yeast and sugar into about 1/4 cup of the warm water (it should feel baby-warm, maybe 100 to 110 F). Wait 5 to 10 minutes until foamy. If it never foams, your yeast might be dead, start over.
2. Mix dry stuff: put the flour and salt in a big bowl and whisk so salt spreads out.
3. Make the dough: pour the foamy yeast, the rest of the warm water, the olive oil, and the optional yogurt or milk into the flour. Mix with a spoon until it starts to come together.
4. Knead: turn onto a lightly floured surface and knead 7 to 10 minutes until smooth and slightly tacky. If it’s too sticky add a tablespoon flour at a time, but don’t overdo it or pitas get dry.
5. First rise: oil the bowl lightly, put the dough in, cover with a towel or plastic wrap, and let rise in a warm spot until doubled, about 1 to 1.5 hours.
6. Shape: punch the dough down gently, divide into 8 equal pieces. Roll each piece into a ball, let them rest 10 minutes under a cloth so gluten relaxes.
7. Roll thin: on a lightly floured surface press each ball flat, then roll into a 6 to 7 inch circle, about 1/8 inch thick. Make sure circles are even, thin center helps them puff.
8. Heat your pan or oven: you can cook pitas on a preheated heavy skillet or cast iron at medium-high, or use a 500 F oven with a pizza stone or inverted baking sheet. If using oven, preheat for at least 30 minutes.
9. Cook: for skillet, brush a little oil and cook each pita 1 to 2 minutes until bubbles form, flip and cook 1 more minute. For oven, place on hot stone and bake 3 to 5 minutes until puffed and lightly browned. They should puff into a pocket.
10. Keep warm: stack finished pitas in a cloth-lined basket so steam keeps them soft. If they don’t puff fully, cut them open and warm again in the pan for a few seconds, they’ll usually open up more.
11. Storage: cool completely then store in a zip bag for a few days, or freeze. To reheat, warm in a hot pan or toaster oven for a minute.
Tips and little hacks
– Water temp matters: too hot will kill yeast, too cold slows it down. Aim for about body temp.
– If you want extra chewy pitas use bread flour, but all-purpose works great.
– Rolling them a hair thinner in the center helps a nice pocket form.
– If you’re doing a lot, keep baked pitas in a towel to stay soft while you finish the batch.
Substitutions
- Bread flour instead of all purpose flour, for chewier, taller pitas; or use up to 50% whole wheat but expect slightly denser loaves.
- Instant yeast in place of active dry yeast, use the same amount and mix it straight into the flour, you may skip the initial proof and cut rise time a bit.
- Honey or maple syrup instead of granulated sugar, use about 3/4 the amount by volume (so ~3/4 tsp) and dissolve it in the warm water first.
- Vegetable oil or melted butter instead of extra virgin olive oil, same amount; butter gives a richer flavor but oil keeps them lighter.
Pro Tips
– Always test your yeast by feeling the water on your wrist, it should be warm not hot, and give it 5 to 10 minutes to foam. If it dont foam, toss it and try again, because dead yeast makes flat pitas no matter what you do.
– Keep the dough slightly tacky, dont keep adding flour till its dry. A little stick is fine, it means soft pitas later, and you can oil your hands instead of dumping more flour when kneading. If the dough tears instead of stretching, knead a few more minutes.
– Get the pan screaming hot, but only a tiny bit of oil on it, wipe with a paper towel if it pools. When a pita puffs, dont press it, let it cook through, and if one wont puff try turning up the heat for the next one or give it one quick extra flip.
– Let the shaped balls rest before rolling so they relax and roll flatter, and stack finished pitas in a towel to keep them soft. For reheating, sprinkle a little water and warm briefly in a hot skillet or microwave wrapped in a damp towel, frozen pitas thaw fine if you reheat straight from the freezer.
How To Make Pita Bread At Home Like A Pro Recipe
I can't wait to show you my Pita Bread Recipe that puffs into perfect pockets every time with just six simple stove-top steps and includes clever sandwich and snack ideas in the video.
8
servings
199
kcal
Equipment: 1. Measuring cups and spoons
2. Liquid measuring cup (for the warm water)
3. Small bowl or cup for proofing the yeast
4. Large mixing bowl
5. Wooden spoon or silicone spatula
6. Bench scraper or sharp knife for dividing the dough
7. Rolling pin and a lightly floured work surface
8. Heavy skillet or cast iron pan plus a spatula or tongs for flipping
9. Clean kitchen towel and plastic wrap (for resting and keeping pitas soft)
10. Pastry brush or paper towel and a little extra olive oil for wiping the pan
Ingredients
3 cups (360 g) all purpose flour, plus extra for dusting
1 packet (2 1/4 tsp / 7 g) active dry yeast
1 tsp granulated sugar
1 tsp fine salt
1 cup plus 2 tbsp (270 ml) warmish water
2 tbsp extra virgin olive oil, plus a little more for cooking
Optional: 1 tbsp plain yogurt or milk for softer pitas
Directions
- Stir the yeast and 1 tsp sugar into the 1 cup plus 2 tbsp warmish water (about 100 to 110 F or warm to the wrist) and let it bubble for 5 to 10 minutes until foamy.
- In a big bowl mix 3 cups flour and 1 tsp salt; make a well and add the foamy yeast, 2 tbsp olive oil and the optional 1 tbsp yogurt or milk if you want extra soft pitas. Mix until a shaggy dough forms.
- Turn dough onto a lightly floured surface and knead about 8 to 10 minutes until smooth and slightly tacky. Add tiny bits of flour only if it gets too sticky. The dough should be elastic not dry.
- Lightly oil the bowl, place the dough back in, cover with a damp towel or plastic wrap and let rise in a warm spot for about 1 hour or until doubled.
- Punch the dough down, divide into 8 to 10 even pieces (for 3 cups flour I do 8 nice sized pitas). Shape each piece into a smooth ball, cover and let rest 15 to 20 minutes so the gluten relaxes and they roll easier.
- Preheat a heavy skillet or cast iron over medium-high heat until very hot. A drop of water should sizzle and dance. Keep a little olive oil handy to wipe the pan if needed but dont use too much or the pitas will fry.
- On a lightly floured surface, roll each ball into a flat circle about 6 to 7 inches across and roughly 1/8 inch thick. Try to get them even so they puff nicely.
- Cook one pita at a time: place on the hot skillet and cook about 45 to 60 seconds until you see bubbles and the bottom has brown spots, then flip and cook another 30 to 60 seconds. If it puffs into a pocket dont press it, let it cook through; if it doesnt puff fully flip once more and cook briefly.
- Stack cooked pitas in a clean towel and cover to keep them soft while you finish the batch. Serve warm, slice open to stuff or use for wraps. Leftovers keep in a sealed bag for 2 to 3 days or freeze for longer.
Notes
- Below you’ll find my best estimate of this recipe’s nutrition facts. Treat the numbers as a guide rather than a rule—great food should nourish both body and spirit. Figures are approximate, and the website owner assumes no liability for any inaccuracies in this recipe.
Nutrition Facts
- Serving Size: 83g
- Total number of serves: 8
- Calories: 199kcal
- Fat: 3.8g
- Saturated Fat: 0.48g
- Trans Fat: 0g
- Polyunsaturated: 0.44g
- Monounsaturated: 2.4g
- Cholesterol: 0mg
- Sodium: 301mg
- Potassium: 54mg
- Carbohydrates: 35.1g
- Fiber: 1.2g
- Sugar: 0.6g
- Protein: 5g
- Vitamin A: 0IU
- Vitamin C: 0mg
- Calcium: 7mg
- Iron: 1.8mg